- QR
- Fault reporting
- Multi-site
QR fault reporting for branches: no app, just a phone camera
A practical guide to letting branch staff report faults from a QR label on the unit: labelling, the form, photos, tracking and turning reports into work orders.
· 7 min read
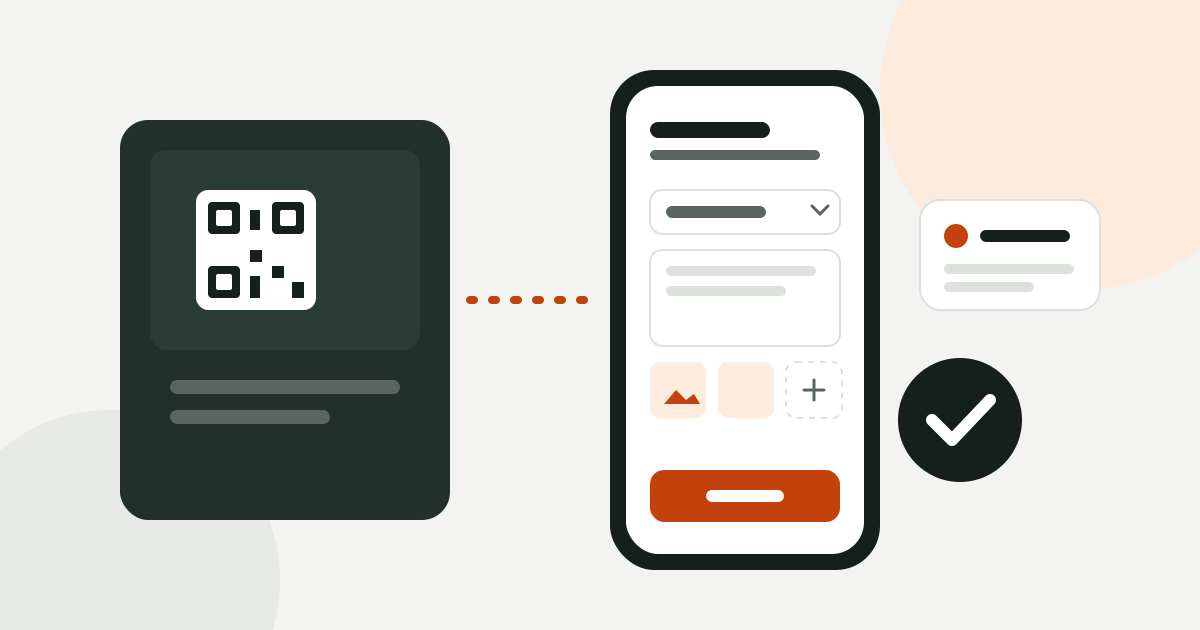
In a supermarket chain, a hotel group or a restaurant with several branches, faults usually arrive the same way: the branch manager calls someone in the maintenance team, or drops a photo into a group chat. A few messages later nobody is sure which unit the photo showed, which branch sent it or who picked it up. In the evening a second message arrives saying “that fridge still isn’t cooling”, and nobody remembers what the first one was about.
QR fault reporting fixes that first step. The person who scans the label on the unit does not have to describe which unit they mean, because the label already says so. This guide covers how to set up QR reporting across a set of sites, what to watch out for and how the report should reach your technical team.
Why calls and messages are not enough
A fault reported by phone or chat has three weak spots:
- The unit is unclear. “The fridge at the back” is obvious to the branch manager and not to the technician. If a kitchen has three fridges, the wrong part can end up in the van.
- The record is scattered. The report lives on one person’s phone. If that person is on leave, or the chat scrolls on, the job has no owner.
- There is no feedback. The person who reported it does not know whether anyone took it, so they call again, and the technical team gets interrupted several times for the same fault.
A QR label deals with all three at once: the label identifies the unit, the report lands in one place, and the reporter gets a link to follow the status.
What a good QR reporting flow looks like
It must not require an app
Branch staff change often. Asking a cashier, a cook or a night guard to install an app, create an account and remember a password stops the report before it starts. The phone camera reads the code, a page opens in the browser, the form gets filled in. No sign-in.
It must be short
The fields you actually need are:
- Problem type. A pick list such as “Not cooling”, “Water leak”, “Error code displayed”. Much easier to sort than free text.
- A short description. Since when, what can be seen.
- Photos. The error code on the display, the puddle, the broken door. A few are enough.
- Optional name and phone. In case the technician wants to call back.
A longer form pushes the report into “I’ll do it later”.
You decide how much the page shows
The label sits where anyone can see it. On a unit that customers can scan too, you may want to show only its name and not internal details such as floor, room or storeroom. What the public page shows should be your setting.
It must be protected against abuse
A public form attracts spam and fake reports. Without bot protection it can fill up with junk within weeks. The link on the label also should not expose the unit’s internal ID or details about your company. It should carry a random key that you can replace when you reprint a label.
Labelling: where to start
Do not try to label everything in a day. This order is more realistic:
| Priority | Which units | Why |
|---|---|---|
| 1 | Units whose failure stops work (cold room, display cabinet, combi oven, dishwasher) | Biggest loss, most urgent report |
| 2 | Units with frequent faults | Collecting their history pays off most |
| 3 | Customer-facing areas (air conditioning, automatic doors, lighting) | Reports mostly come from staff, who need to know where to scan |
| 4 | The location itself (kitchen, storeroom, floor) | For problems that do not belong to a single unit |
The last row matters. “Water dripping in the storeroom” does not belong to any unit. A QR code on the location makes sure those reports also reach the right branch and the right area.
Placement and durability
- Put the label on the front of the unit, close to eye level and away from water. On the outside of the cold room door, not the inside.
- Use labels that survive grease and steam in kitchens and condensation in refrigeration.
- Print the unit’s name and number on the label as well, so staff can read the number out if the code will not scan.
- Add one line of instruction under the code: “Scan with your phone to report a fault.”
After the report: keep requests and work orders apart
Not every report from a public form should become a work order straight away. Two people can report the same fault, the issue may not be a fault at all, or the unit may already have an open job. So a QR report should land as a request first, and a manager or planner should review it and either convert it into a work order or reject it with a reason.
That split pays off twice:
- Technicians’ job lists do not fill up with duplicates or noise.
- Rejected requests stay on record. How often you see “user error, no fault found” tells you which branch needs a short training session.
When you convert a request, check whether the unit already has an open work order. If it does, adding the report to that job as a note is often better than opening a new one.
Close the loop with the reporter
The question reporters ask most is “did you get it?”. Giving them a tracking link after they submit removes that question. The tracking page should be simple: received, in progress, done or rejected, with dates. No technical detail, technician names or internal notes.
How QR reporting works in Saha
In Saha every asset and every location has a random QR key. The key reveals neither the asset’s ID nor your company, and if a label is lost or stuck in the wrong place you can generate a new one. You print labels in bulk from the web admin as an A4 or roll label PDF.
Whoever scans the label sees a page without signing in: your company name, the unit’s name and, as far as you allow it, its location. They pick the problem type from a list that comes from the sector template, write a description, add up to three photos and, if they like, leave a name and phone number. The form is protected by Cloudflare Turnstile. The report lands as a request, and the reporter gets a tracking link.
On the requests screen a manager reviews the report and converts it into a work order or rejects it. When converting, Saha shows if the unit already has an open work order. Once the work order is assigned, the technician gets a notification on their phone, and when the job is done the tracking page updates. On the asset card, requests from the QR code, work orders and checklists show up in one history.
If you are still on paper forms, our piece on moving from paper service forms to digital work orders covers the rest of that switch.
A short checklist
- In the first week, label only the units whose failure stops work.
- Keep the form to four fields: problem type, description, photos, optional contact.
- Decide what the public page shows.
- Collect reports as requests and have one person convert them into work orders.
- Give the reporter a tracking link.
- Once a month, review rejected requests: which branch and which unit produce the most false reports?
Setting up QR reporting is not a big project. A label printer, an afternoon and a few branches are enough. If you want to try it, create a free account and print your first labels today.